How to Add an AI Chatbot to Your Framer Website Using AssistLoop
Engaging visitors, answering questions instantly, and automating customer interactions can drastically improve your site's user experience. I
 Yared2 min read
On this page
Engaging visitors, answering questions instantly, and automating customer interactions can drastically improve your site's user experience. If your site is built with Framer, you're in luck—integrating an intelligent AI chatbot is quick and straightforward using AssistLoop’s dedicated plugin.
Let’s walk through exactly how you can set this up in just a few easy steps.
Step 1: Create Your Chatbot on AssistLoop
First, sign up on AssistLoop.ai. Once you’re signed in:
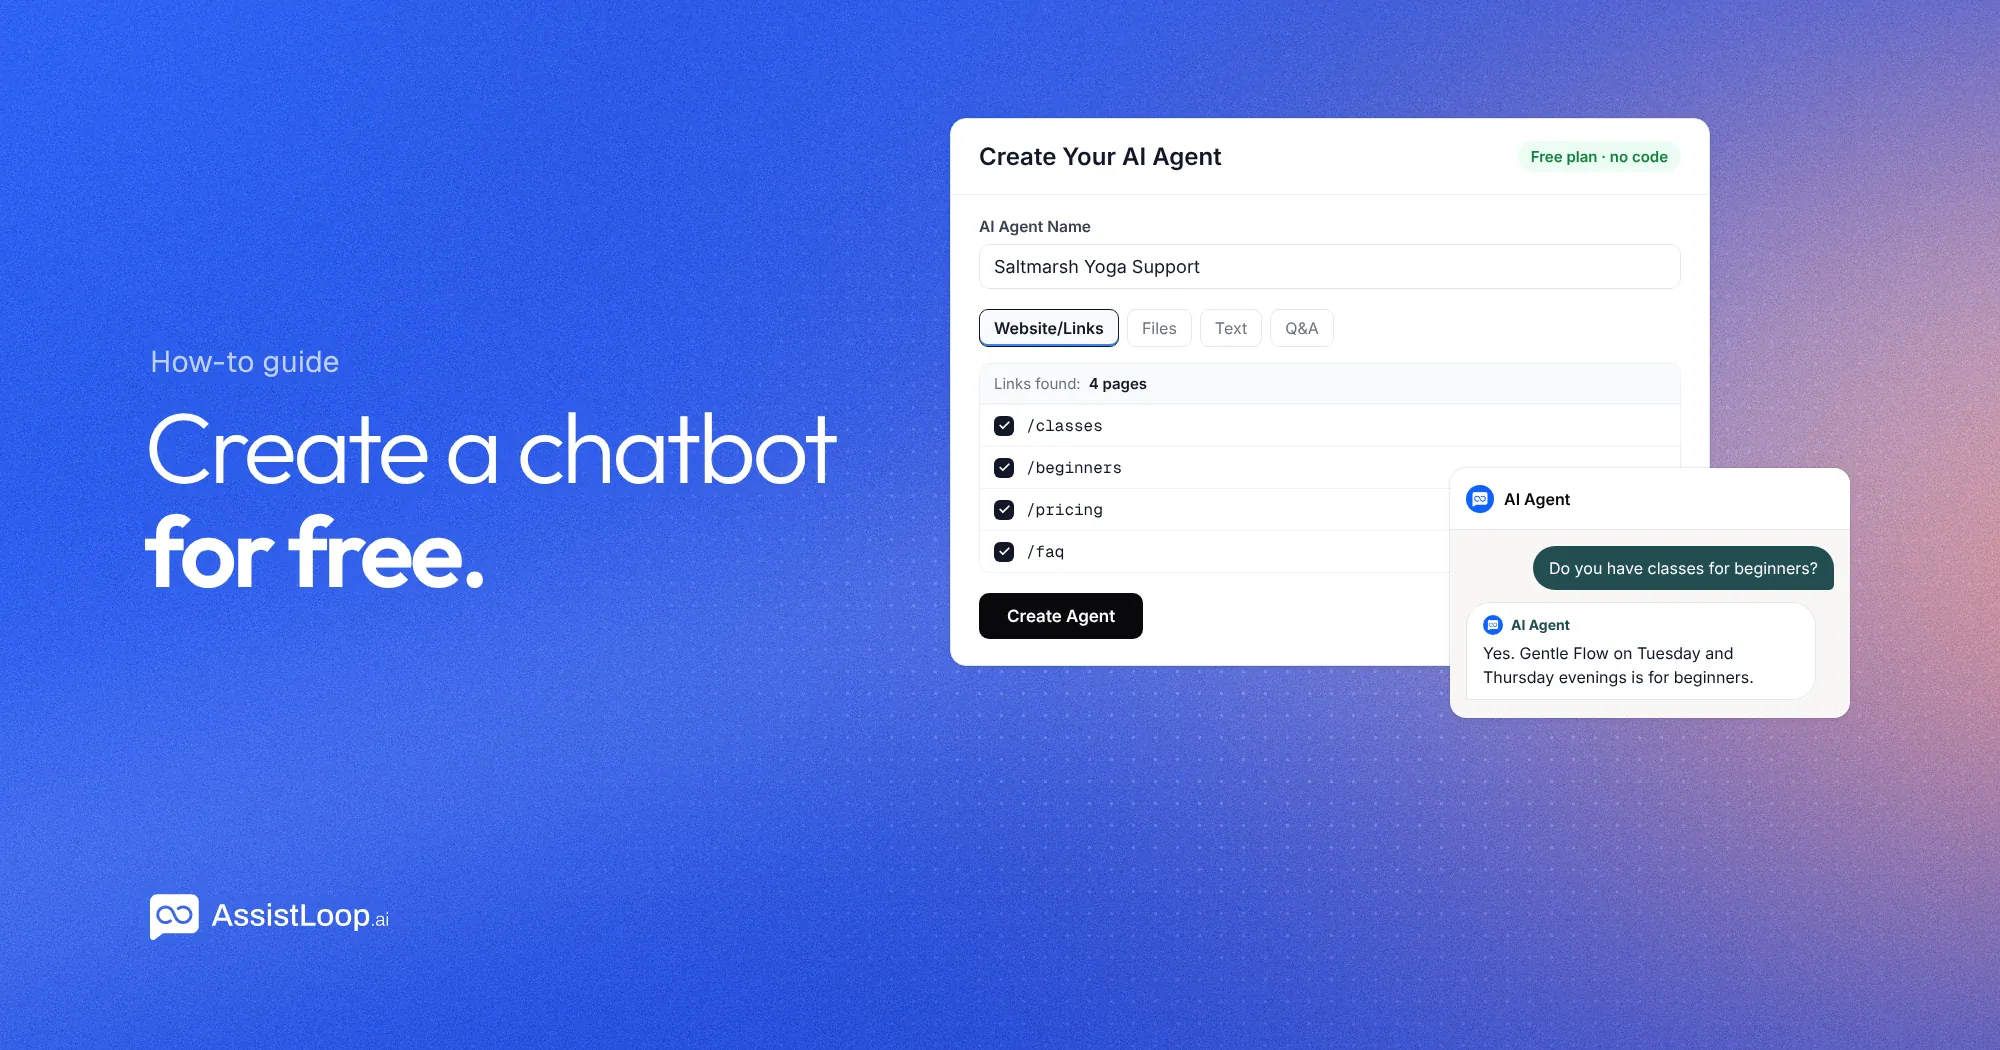
Click Create Chatbot and give it a clear, descriptive name.
Train your chatbot by uploading content relevant to your business, such as your website URL, PDFs, text documents, or question-answer pairs.
Your chatbot now understands your business context and is ready to interact meaningfully with your site visitors.
Step 2: Install AssistLoop’s Plugin on Framer
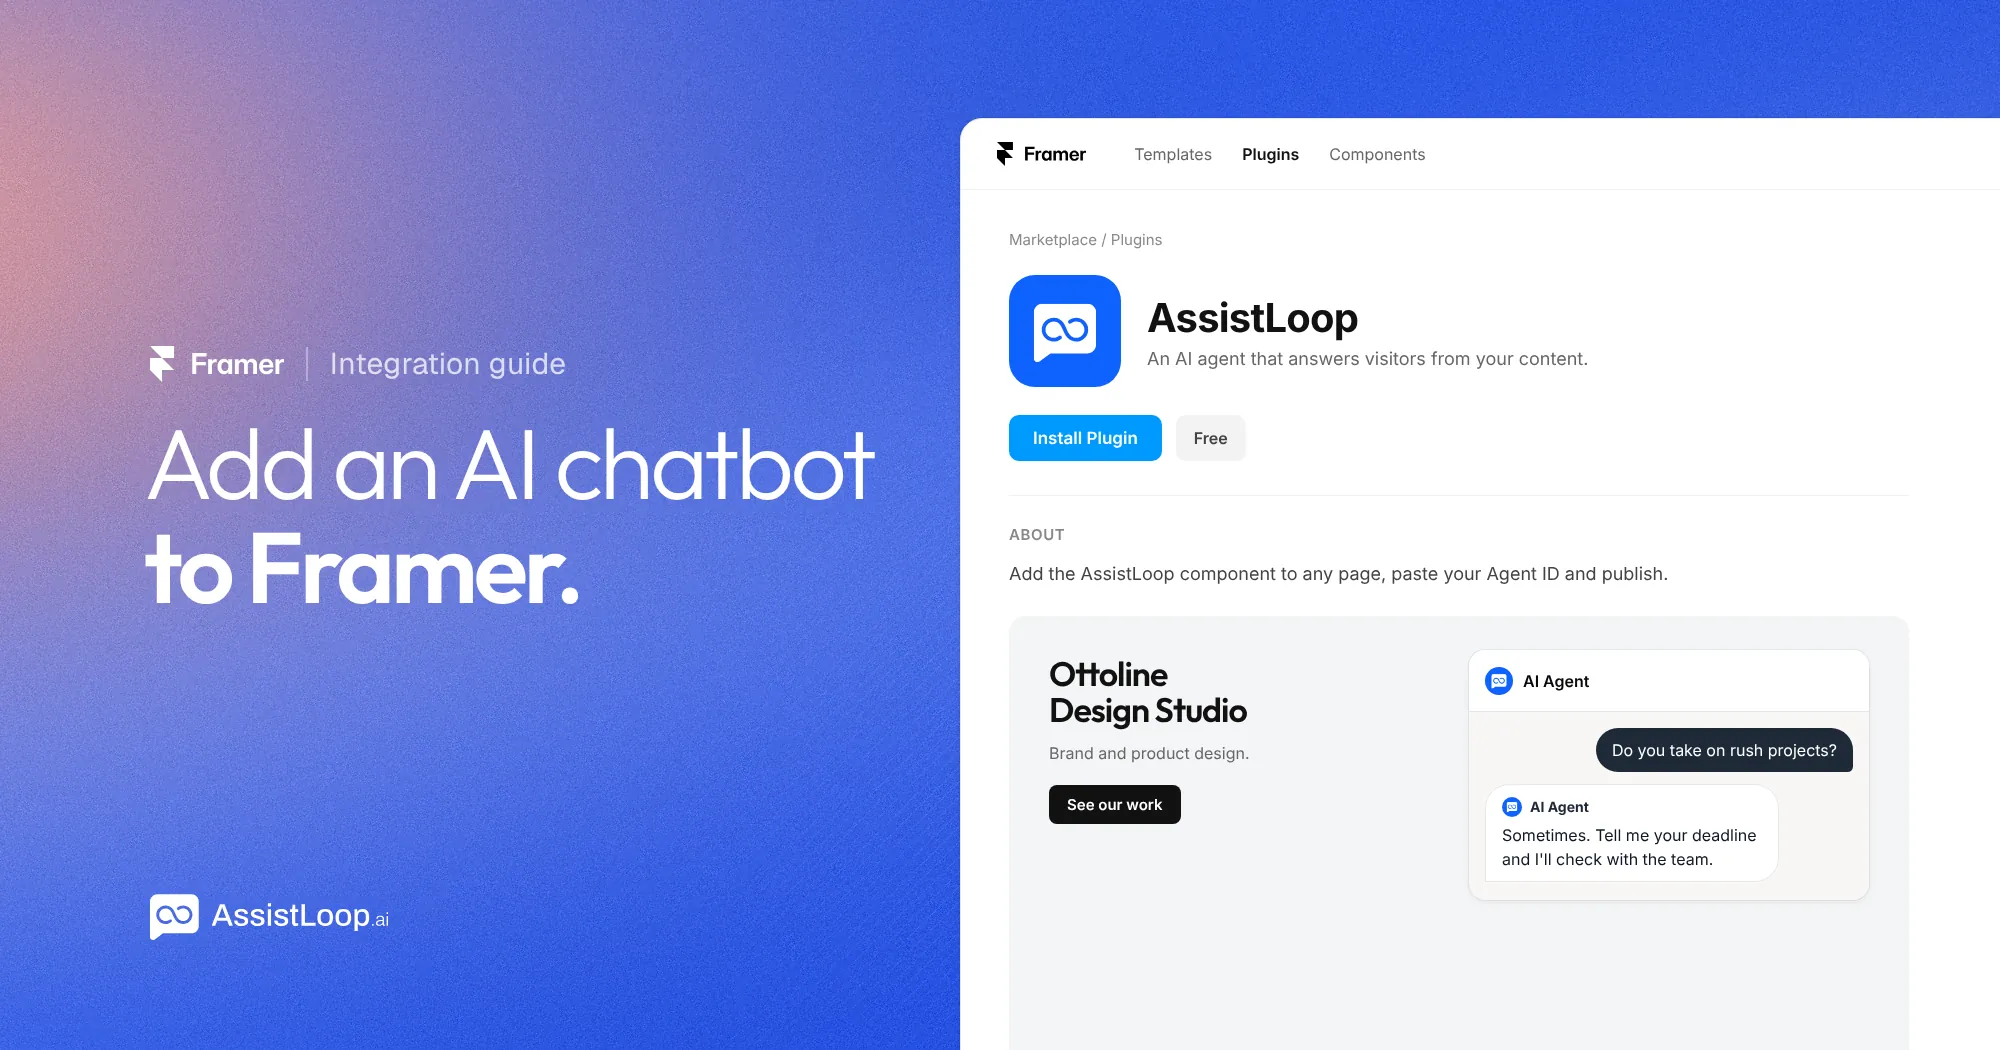
Head to the Framer marketplace or go directly to the AssistLoop plugin page on Framer.
Click Install Plugin.
Once installed, you’ll find the AssistLoop plugin accessible directly within your Framer editor.
Step 3: Connect Your Chatbot with Framer
Open your Framer project and navigate to the page or layout where you want the chatbot to appear.
Add the AssistLoop Chatbot component from the components menu.
You’ll be prompted to enter your Agent ID, found on your AssistLoop dashboard:
Go to your chatbot's settings page on AssistLoop.ai.
Copy the provided Agent ID.
Paste this into the AssistLoop component settings in Framer.
Step 4: Customize Your Chatbot’s Look and Feel
The AssistLoop dashboard lets you fully customize your chatbot:
Color Scheme: Choose colors matching your brand.
Initial Greeting: Set a friendly welcome message.
Chatbot Icon & Profile Picture: Personalize the visual appearance.
Dark/Light Mode: Adjust according to your site's aesthetics.
Suggested Messages: Pre-define quick replies to guide your users smoothly.
Your chatbot will reflect your brand personality perfectly.
Step 5: Publish and Enjoy
After customizing, hit publish in Framer, and your intelligent AI assistant goes live instantly on your site.
Why Choose AssistLoop for Your Framer Site?
Effortless Integration: No complicated coding—just copy, paste, and publish.
User Engagement: Provide visitors instant answers, collect leads, or even schedule appointments automatically.
Highly Customizable: Align the chatbot precisely with your branding and style.
Ready to see it in action?
Head over to AssistLoop.ai and start enhancing your Framer website today. Have questions or need further customization tips? We're here to help!
Build Custom AI Chatbot for Your Business FREE
Create intelligent AI agents that handle customer support, boost conversions, and work 24/7 for your business.
Build Your Agent